In this post I will describe how I installed and set up the Unity Hub and editor on my machine.
First I went to the official unity page. This article assumes, that you have not installed unity yet. Thus you need to download the unity hub.
In this article I am using Windows, but the steps for the other operating systems are not that different.
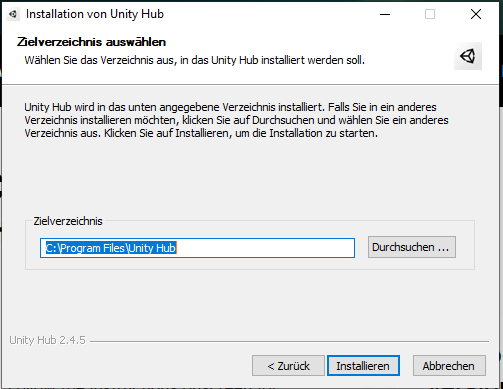
Of course you need to accept the unity licence agreement. Then you will see a window for the install location of the unity hub.As I understood it, you can consider the unity hub as something, that will load for you all the utils from the big unity machinery (like shaders, libraries…) that you’ll need for a good game.
You can leave the suggested target directory unchanged. Once the unity hub is installed it is ready to run.
Maybe your Firewall will block unity as a kind of software that could possibly download other software. But you can allow unity the access to your computer.
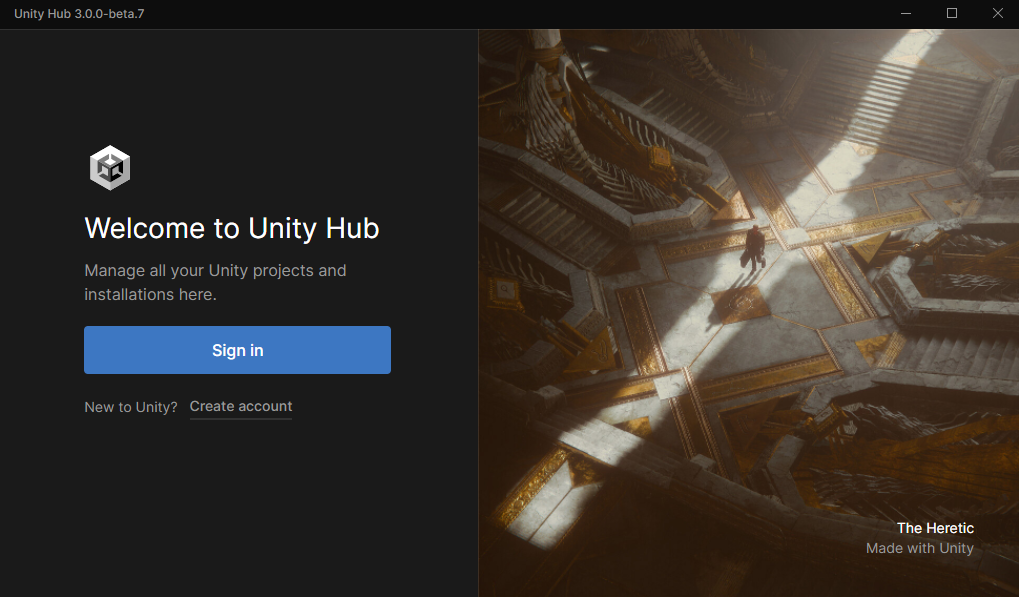
Next you will need to sign in or create a unity account.If you create a new unity account, keep in mind, that you will get tons of emails with “helpful” advices from unity. So I would recommend you to use an E-Mail, that you only use to subscribe somewhere, or to directly create in your E-Mail Inbox a rule, that automatically puts all the mails coming from untiy in a seperate folder.
Once you have signed in, you should see a window like that
That will let you install the unity editor. Now, depending on your wifi, the installation might take a while. In my case with the Eduroam, it really takes some time.
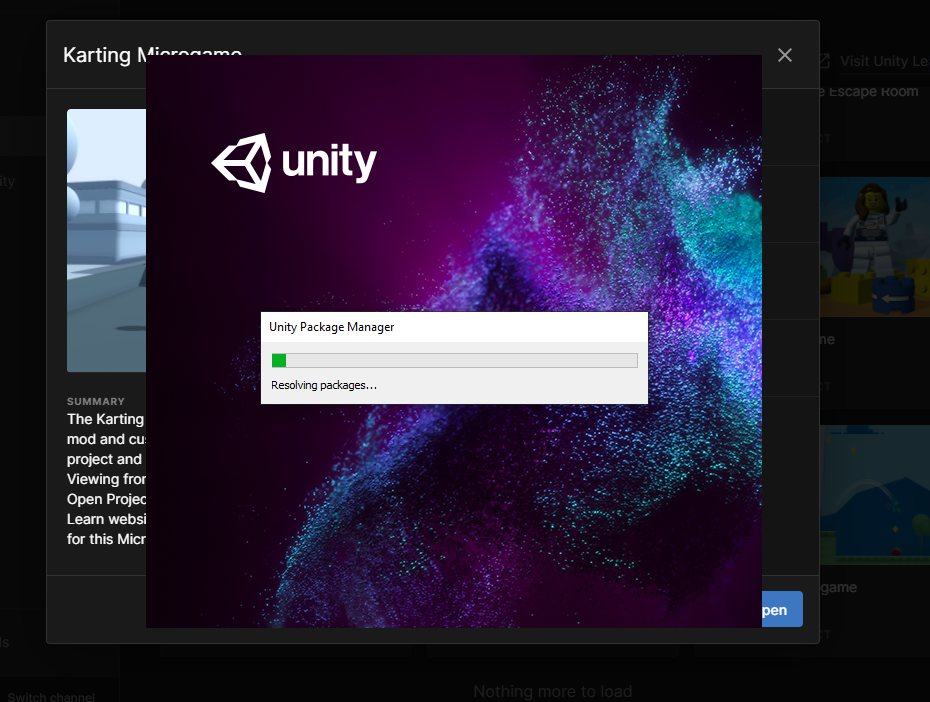
Next if you click on learn on the left side, you will get some sample projects, that you can download.
For example choose the kart race.At the first time, it will take some time for the Unity package manager to load and compile all the scripts and shaders.
Once this is done, you are ready to modify your game in the unity editor.