The aim of this article is to guide you through the process of creating your first game in unity. In order to do this start by your Unity Hub, click on new project and select for this tutorial 3D-Core. Give the project your favorite name and location.
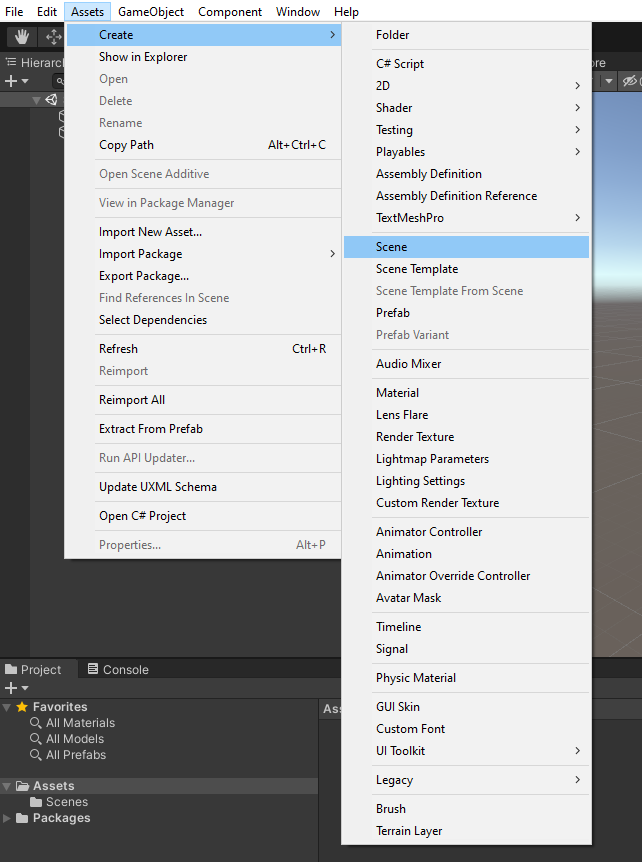
To fill the scene with the content we need, let’s create a ground plate.
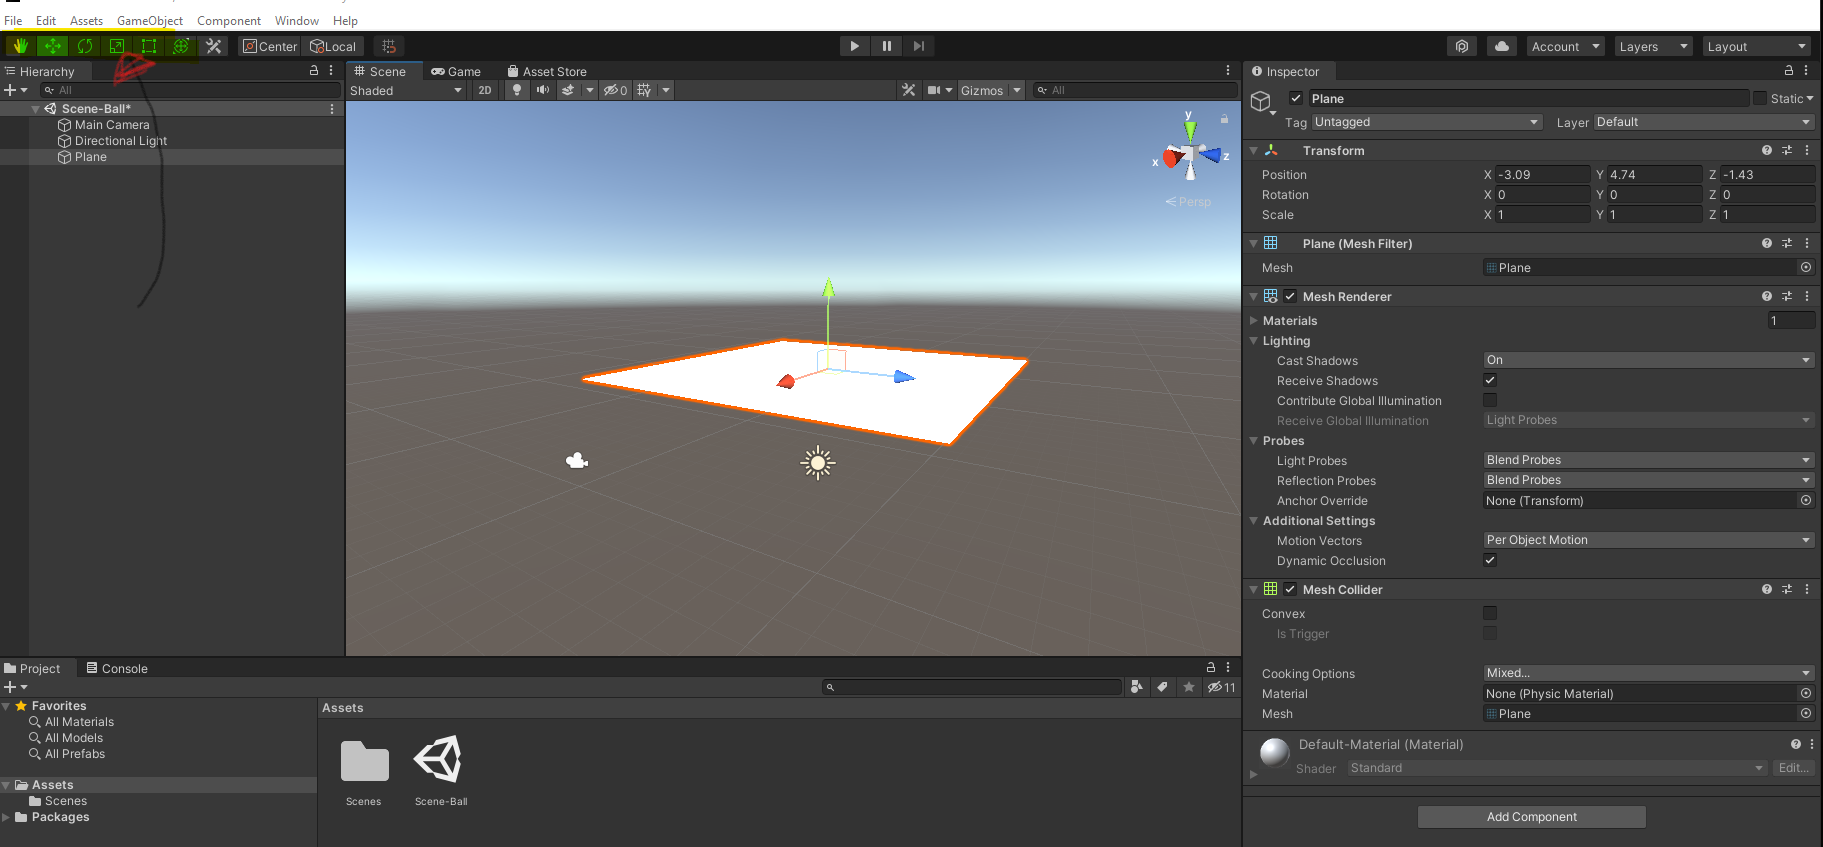
Further if you select the check boxes on the top, you can play around with the scale or rotation parameters.
A priori your plane has some arbitrary position, but as the plane will be the maon object in our game, we should place it into the origin of the world space. In order to that, click on the three dots in the Transform tab and select reset.
Now in order to make our objects look different, lets create different materials, that we will assign to the different instances in our game such as the ball, the plane, the pickup elements etc. Click on the + in your project tab and select the material.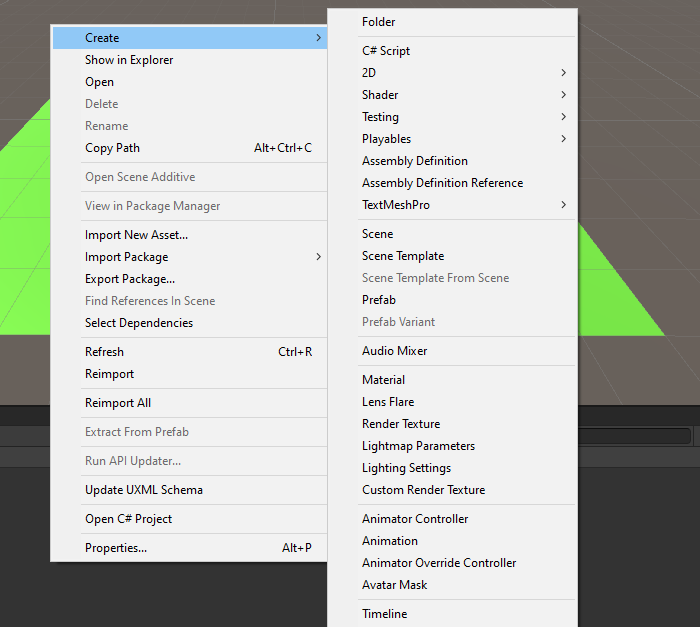
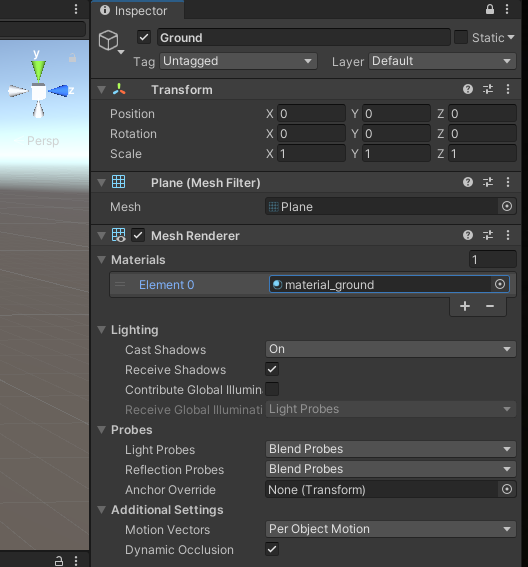
Now as we have the material we want to assign it to the ground plate.
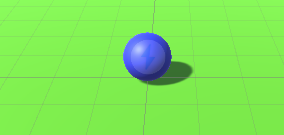
Now as we have the play ground, we need someone to play on it. In our case, we will take for this a sphere. So to create a player object. So again create a 3D-object, but this time take a sphere, place it at $$(0,0,0)$$. To do that click on the three dots next to the transform, select reset.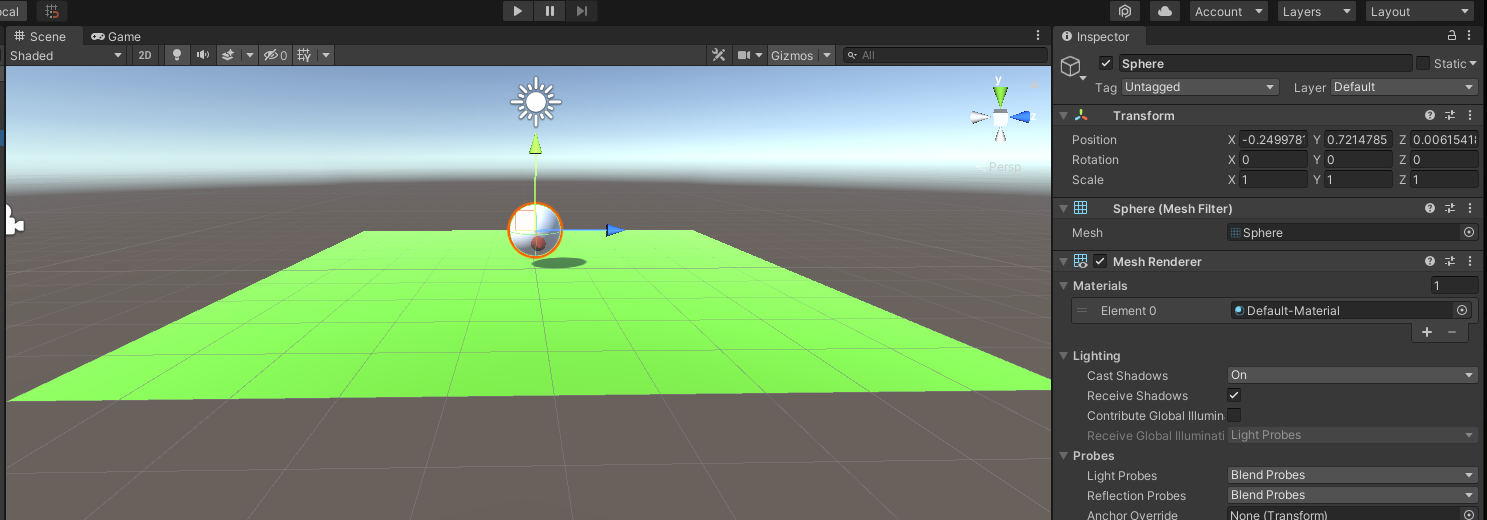
In order to control the components of the scene, such as the player, we can either fixed change the parameters in the insepector, but equivalently, we can also manipulate them within a C# script. A script can be considered as a component of a game object in order to control it. We will later see how one can do this in detail.
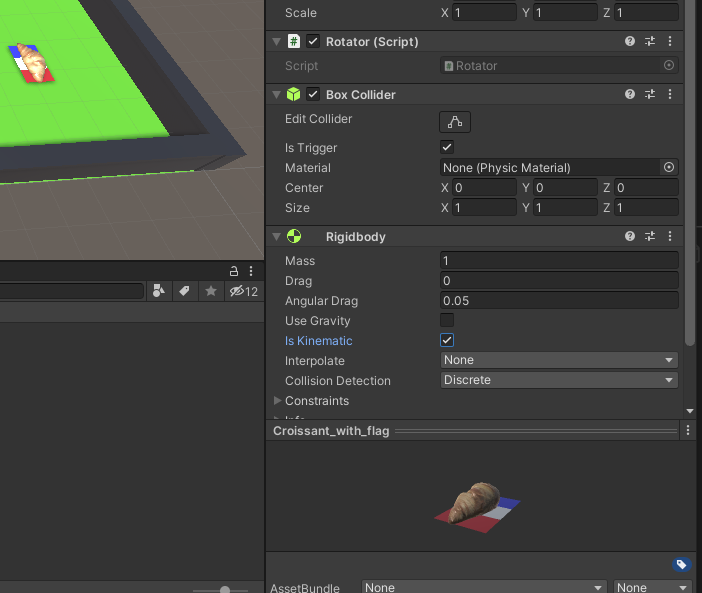
Here in this particular game we want, that the ball rolls on the ground, can hit a wall and bounces back and does not fly into space. The ball should roll, so we want some rigid-body motion. To do that, click in the hierarchy on Player (or whatever name you gave to your sphere), then go to the inspector and click on Add component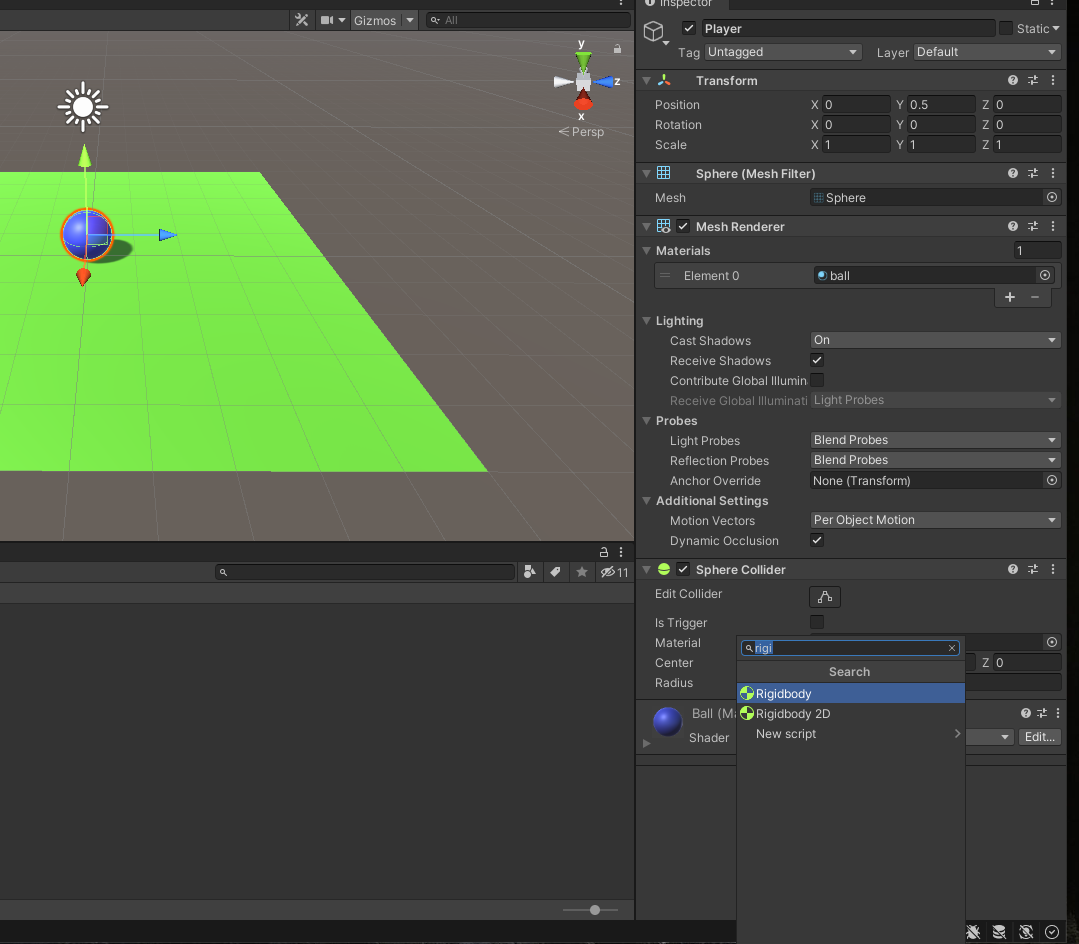
Search for rigidbody, then you should see in the inspector the physical components such as angular drag, mass etc.
We want to control the game with our keyboard, so we need to use somehow the keyboard as an input device. In other cases it could be good to use a joystick as a device or as we will later see an Oculus quest. We will need the Input package. To get the package go to Window and select the Package Manager.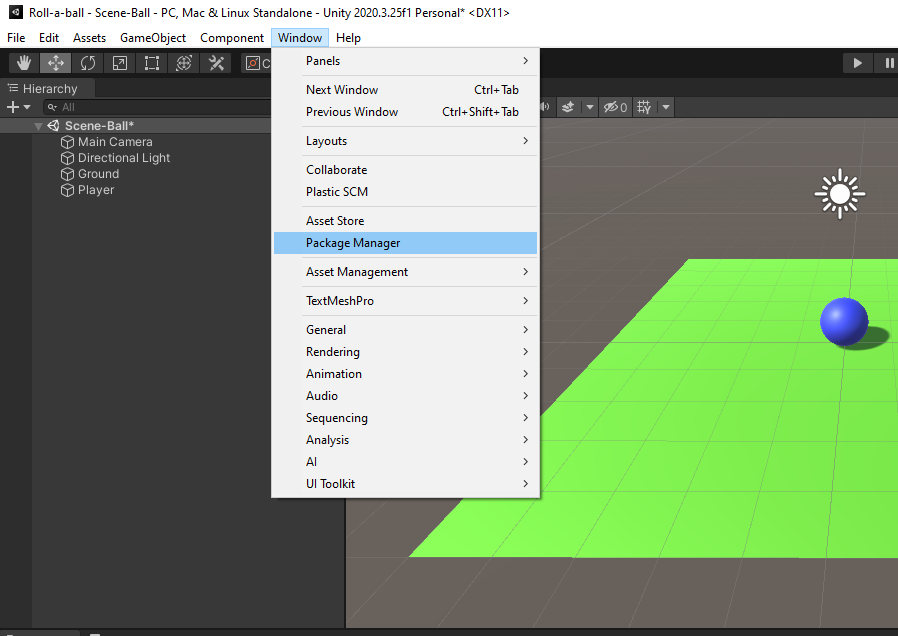

x86_64. To do that go in the top bar to File/Build Settings and change if necessary the architecture.

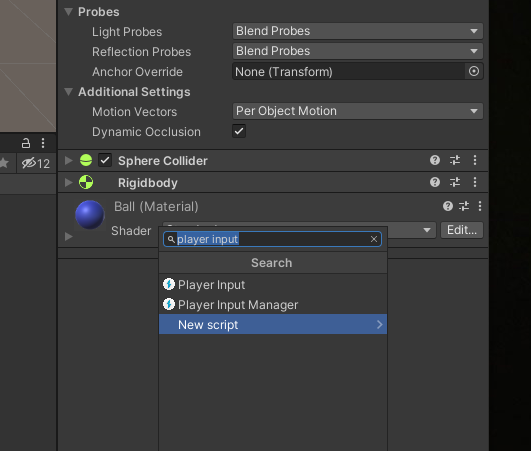
Now as the input package is installed, we want to assign it only to the ball. For now, we do not want for example move around the plane. Thus we select the ball and add as a component the Player Input. In the inspector tab click on Create Actions. Now you should be directed into the asset folder.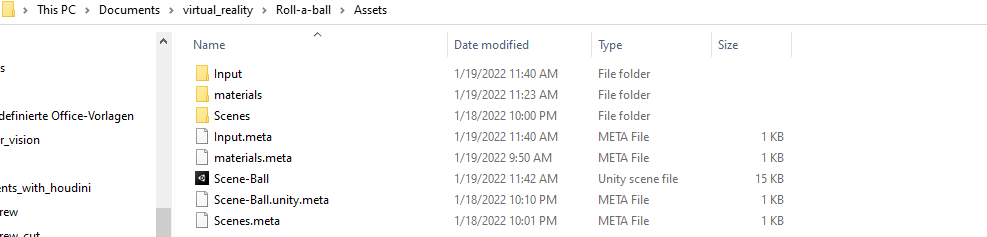
InputAction in this folder. Then back in Unity check, whether you find the Input action file in the Asset/Input folder.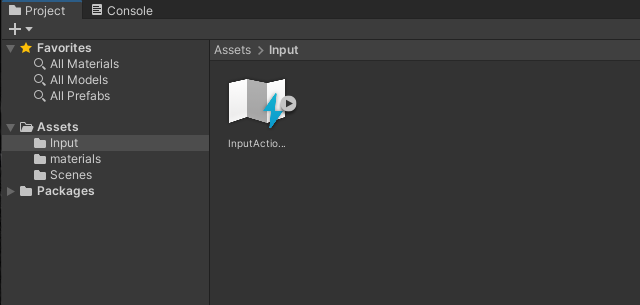
new script. Give the scipt for example the name PlayerController.cs.
If you open the PlayerController.cs, we need to link the script to the input action. Therefore add in the Script the line
using UnityEngine.inputSystem;
Now in order to move the ball, we need to add forces to the rigid body. We want to link them to the input of the keyboard. Therefore add the function OnMove
void OnMove(InputValue movementValue)
    {
        Vector2 movementVector = movementValue.Get<Vector2>();
        movementX = movementVector.x;
        movementY = movementVector.y;
    }
This fetches for each frame, whether there is an input from the keyboard. Then to apply this force to the rigidbody, we need the function fixedUpdate
void FixedUpdate()
    {
        Vector3 movement =new Vector3( movementX, 0.0f, movementY );
        rb.AddForce(movement*speed);
    }
This applies the force to the rigid body and we can move the body around. If you switch into play mode, you will see, that your camera will not follow the ball and depending on your camera position, you cannot see the ball. In order to enable the tracking of the ball with the camera, we need to link the position of the ball to the position of the camera. In order to achieve that, we need to select the camera in the inspector and add a new script as before. You could call it CameraController.cs if you like. On the top of your script, you need to add a public variable
public class CameraController : MonoBehaviour
{
    public GameObject player;
}
Then in the inspector of the camera, you will see the game object player. Drag your ball to this game object. Then you can read and use all the variables in your script too. Before the game start, you need to compute how far your camera is away from the ball. Thus you have the following start function
void Start()
    {
        offset = transform.position - player.transform.position;
    }
you can use this offset vector to update the position in the update function via the call
void LateUpdate()
    {
        transform.position = player.transform.position + offset;
    }
Next we need to add some walls, such that the ball has a limit and does not fall down the plane. Since the ball has an included collider, it completely sufficed to add walls to the ground, that are sufficiently high. Here you see, that it is useful to use the provided unity tools, because like that, we have directly the acceleration and bouncing off included, it will be a lot easier.

To do this add walls to your scene and give them a certain height, such that you ball will not bounce. I gave them a black color, such that the set up reminds a bit of a billard table. Next you can add some pick-up objects to the play area. As I write this game in France, it is clear, that some french flavour is needed. Therefore I went to the unity Asset store, to get some Croissant.


PlayerController.cs add a variable private int countPickup;
in the head of your file. Now you can check for each frame, whether your ball collides with a pick-up and in if so, increase the countPickup. One first idea how to do this could be to add a funcion of the form
 private void OnTriggerEnter(Collider other)
    {

            other.gameObject.SetActive(false);
            countPickup+=1;
            SetCountText();

    }
But this will create a problem, because also when the ball hits the ground or a wall, the object will disappear. To solve this issue, you can add a tag to your croissant and then check if the collision object is a croissant. In this case you will disable the croissant and increase the score.


Now place some pickup, but remember how many ;).
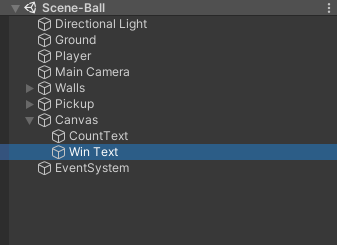
In order to display some text on the screen use a canvas object, declare in your script a public variable of the type public TextMeshProUGUI countText;
PlayerController.cs. Then in order to write your score there add a function in the main class of the PlayerController of the form
void SetCountText()
   {
       countText.text = "Count: "+countPickup.ToString();

       if (countPickup >=15)
       {
           countText.text = " ";
           winTextObject.SetActive(true);
       }
   }
This directly includes a condition when to end the game. In my case, I added 15 PickUp Objects, thus if there are 15 objects collected. In order to have a message appearing, I’ll make the counter text disappear and activate the winTextObject. This is a public object, that I declared in the head of the class. On this game object I placed a big text “You Win! “. By default it is disabled, but if the 15 collectibles are hit, it will appear and the game ends.