In my locomotion project I went for an approach to imitate cross-country-skiing in VR. The overall idea will be, that you have to move your arms from top to down, and this then gives you a push. I used the environment build by Wen-Jie Tseng, that he provided for our class under this link. This was my starting point, to modify the position of the OVRCamera Rig with its controllers, in order to move. My process in order to get there is described in this post.
In the first part of my implementation, when playing with the given locomotion technique, I realized, that I can enter the ground.
hmd.forward.
void FixedUpdate()
    {
        Vector2 rightjoystickval = OVRInput.Get(OVRInput.Axis2D.PrimaryThumbstick, rightController);
        //how much forward
        speed = rightjoystickval[1];

        Vector3 forward_bef = hmd.transform.forward;

        Vector3 forward = new Vector3(forward_bef[0], 0.0f, forward_bef[2]);
    }
This script mainly allows to read the values of the joystick. The further the joystick is moved forwards, the more speed we want. It fetches additionally the direction of the head mounted display and will add a force in this direction. As we do not want to move upwards, we set the y-component to zero.
In order to access the rigidbody in my script, I declared a public variable public Rigidbody rbdy in the header of the file.
public class LocomotionTechnique : MonoBehaviour
{
    public Rigidbody rbdy;
    [...]
}
To link them, I just dragged in the unity editor the rigidbody component into the public variable of the script.
isKinematic in the rigidbody.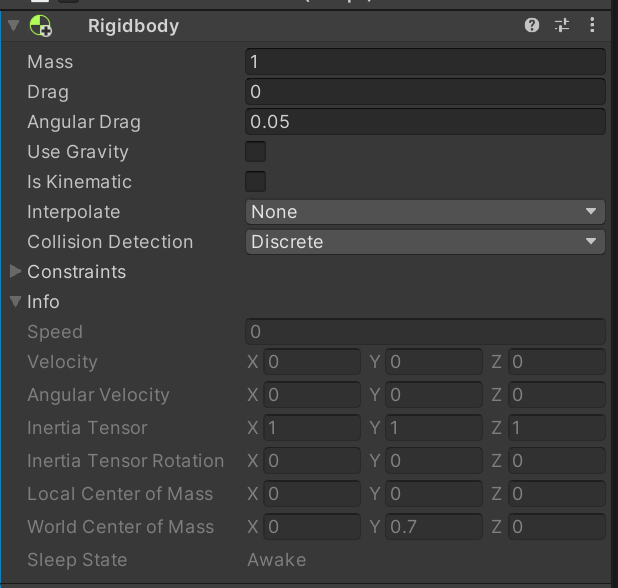
this.GetComponent<Collider>().isTrigger = false
If the collider detected, that the collision object is a banner or a coin, I reset the trigger to true. But there was still an issue, because this action is not fast enough. That means, that we hit a coin, collide hard, and then the coin can be collected. To overcome this issue, I used a little dirty hack, in such a way, that I manually defined the y-position. I placed 8 cubes in the area of the bridge and manually checked their positions.
void FixedUpdate(){

    [...]
    //check whether we need to go downhill
        if ((this.transform.position.x > 74.0f) & (this.transform.position.x < 104.0f))
        {
            if ((this.transform.position.z < 70.0f) & (this.transform.position.z > 9.5f))
            {

                this.GetComponent<Collider>().isTrigger = true;
                float m = 11.6f / 60.5f;
                float n = -1.321f;
                float y_new = m * this.transform.position.z + n;
                min_height = y_new;
                this.transform.position = new Vector3(this.transform.position.x, y_new, this.transform.position.z);
            }
        }

        if ((this.transform.position.x > 74.0f) & (this.transform.position.x < 104.0f))
        {
            if ((this.transform.position.z < 9.5) )
            {

                this.GetComponent<Collider>().isTrigger = true;
                min_height = 0.5f;
                this.transform.position = new Vector3(this.transform.position.x, 0.5f, this.transform.position.z);
            }
        }

        //check whether we need to go uphill
        if ((this.transform.position.x > 74.0f) & (this.transform.position.x < 104.0f))
        {
            if ((this.transform.position.z < 162.0f) & (this.transform.position.z > 102.0f))
            {

                this.GetComponent<Collider>().isTrigger = true;
                float m = -11.6f / 60.0f;
                float n = 31.82f;
                float y_new = m * this.transform.position.z + n;
                min_height = y_new;
                this.transform.position = new Vector3(this.transform.position.x, y_new, this.transform.position.z);
            }
        }

        //being on the bridge
        if ((this.transform.position.x > 74.0f) & (this.transform.position.x < 104.0f))
        {
            if ((this.transform.position.z < 100.0f) & (this.transform.position.z > 70.0f))
            {

                this.GetComponent<Collider>().isTrigger = true;
                min_height = 12.1f;
                this.transform.position = new Vector3(this.transform.position.x,12.1f, this.transform.position.z);
            }
        }
    [...]
}
In the game in the end, this method seems quite smooth and floorless, but of course, jumping is a little problem with that; coins one need to jump for will be unachievable.
With the boolean information, whether we are going uphill/downhill, I then added some drag to the rigidbody, such that it is harder/easier to move forward.
Now in order to get the ski locomotion right, my plan was to place 4 cubes in front of the player and then to measure, whether the controller move from the upper box to the lower box and if they do, to add a force.
In order to do this, I attached a game object to the CenterEyeAnchor, where I place 4 cubes. In order to place them, I used the Oculus link to debug, when they have a good position.
First I checked the upper cubes and placed them by hand, next I placed the lower cubes and tested, that a natural ski stroke movement is from the upper to the lower cube.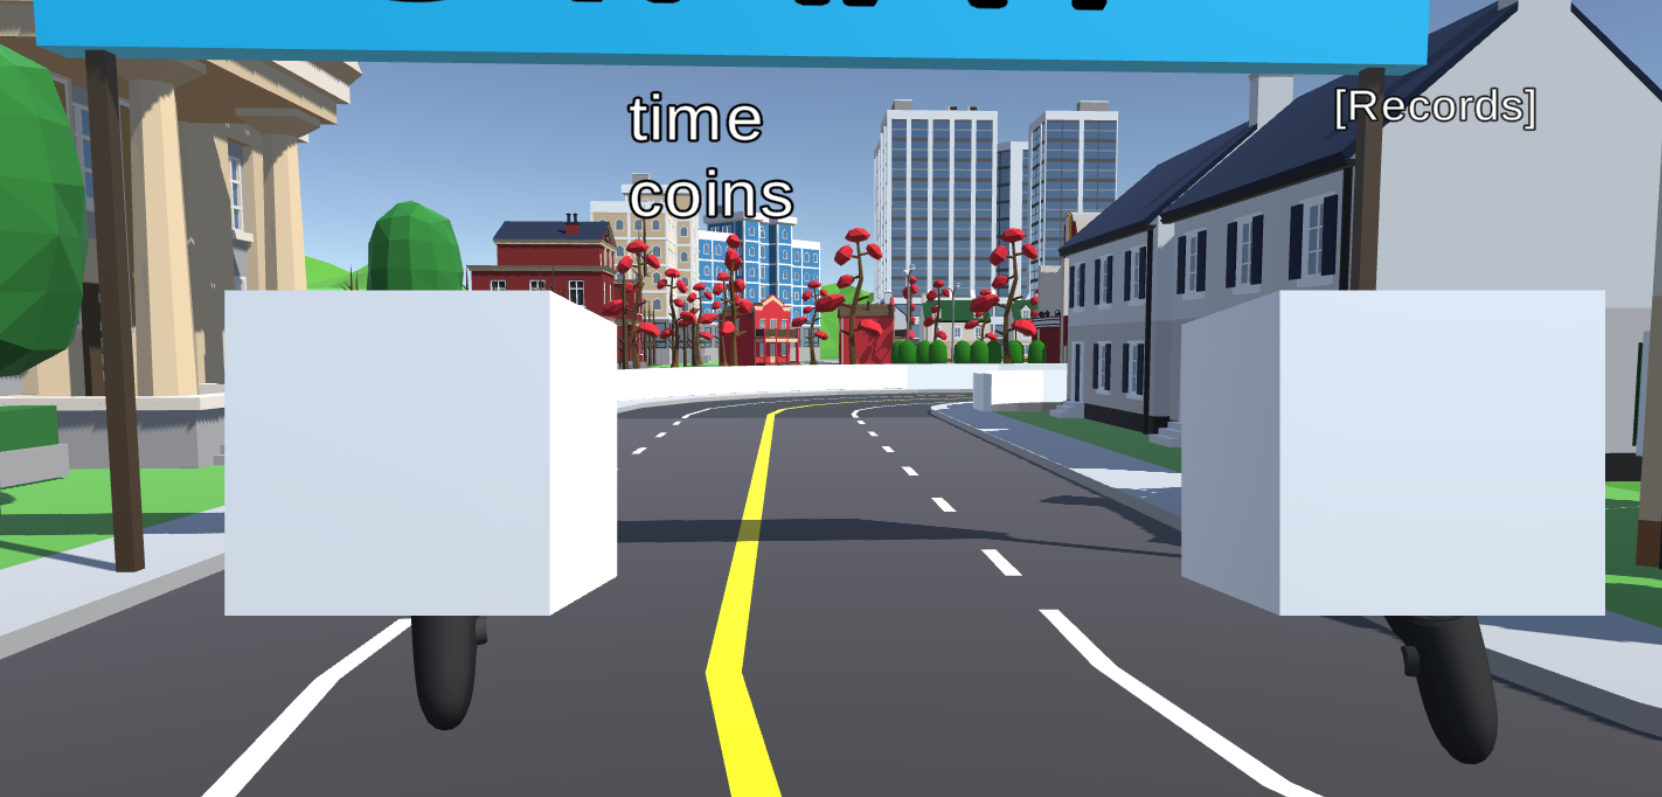
Next I assigned some materials to the cubes.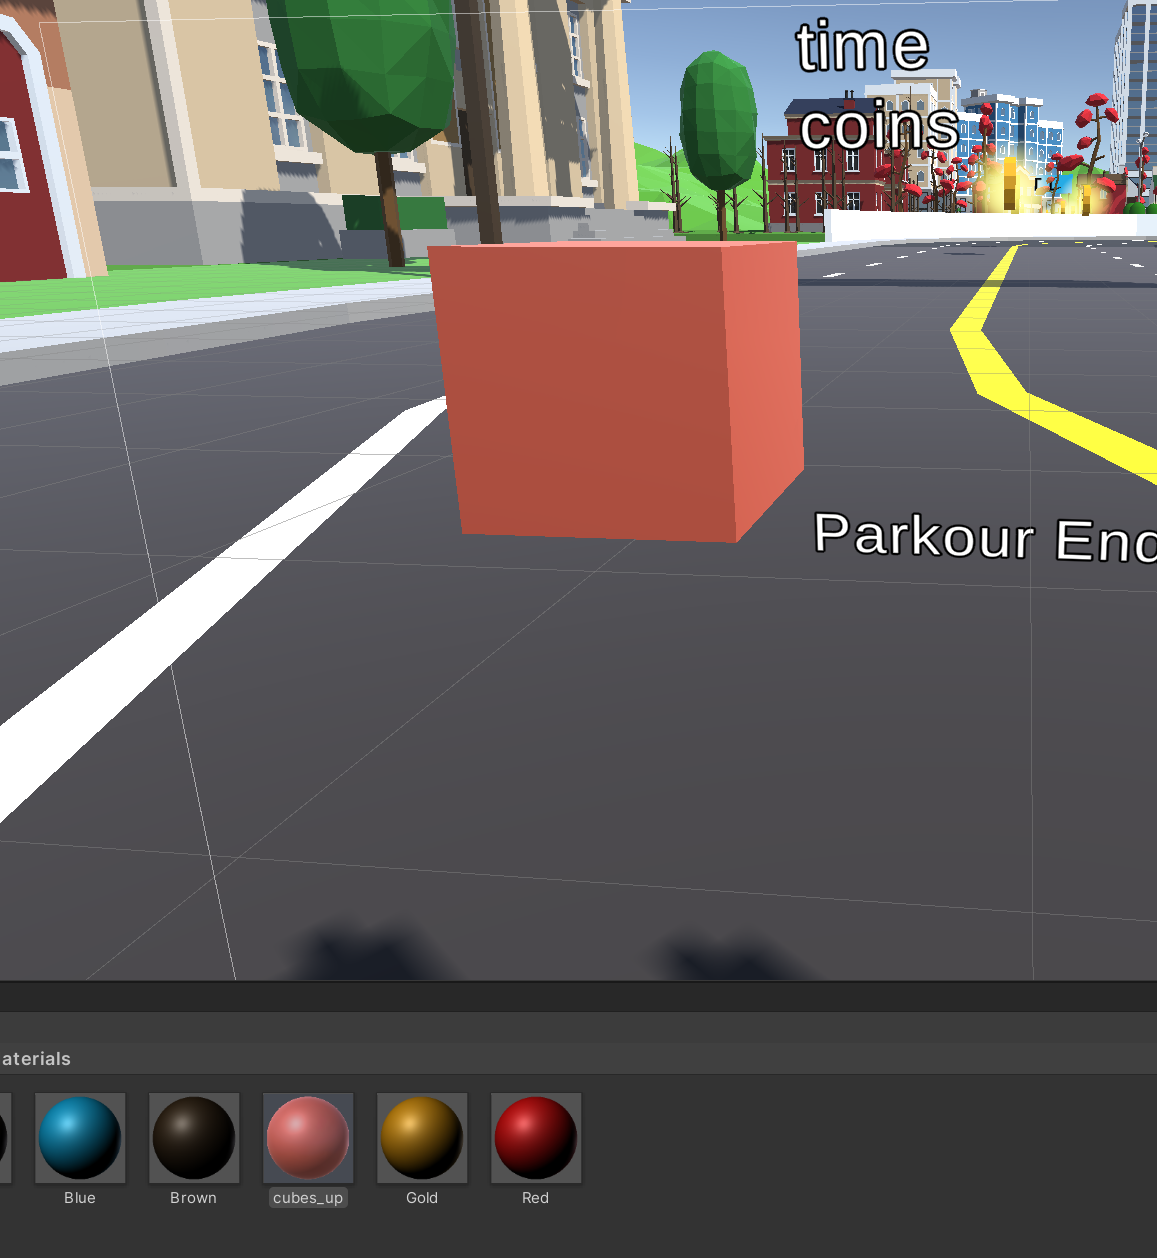
When I tried to start the game now on my Oculus, I realised, that I cannot pass the first banner, thats because the added cubes all have attached colliders and they need to be triggers, thus, set the trigger to all the 4 box colliders of the added cubes.

In the next step, we somehow need to detect, whether we hit with the controller the cubes, in order trigger a push. To do that, I declared 4 public GameObject variables in the locomotion script with boolean variables, that will indicate whether we are in one of the cubes. Then I attached in the unity inspector the cubes we just moved around to the Locomotion script.

Next in order to check if the LeftHandAnchor is inside the box or not, I attached a new script to the left (and then right) hand anchor. In the project window, drag them over to the Scripts folder.
Now, we additionally need to add a box collider to the Controllers/Anchors. Make sure to tick the isTrigger again. There one needs to be careful, because by default the collider of the Anchors has not the same size as the collider of the boxes.
Thus it might be, that the collider of the anchor is at the same time in the upper and the lower cube, and our locomotion scipt has a problem. In my case, scaling the collider by around 0.1 does the trick.
In order to access the information of the collider of the controller, I defined public variables for the ColliderLeft and ColliderRight in the header of the LocomotionTechnique script.
public class LocomotionTechnique : MonoBehaviour
{
    // Please implement your locomotion technique in this script.
    public OVRInput.Controller leftController;
    public OVRInput.Controller rightController;
    [...]
}
In the Inspector of the LocomotionScript click on the right circle and select your script.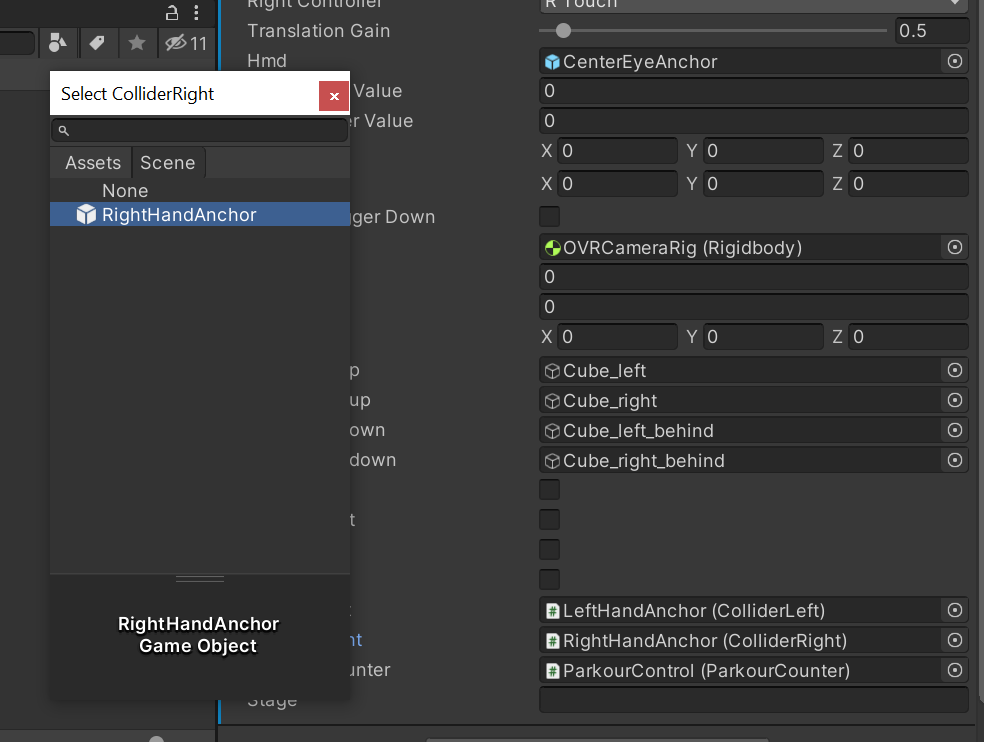
Next we need to write the script for ColliderLeft and ColliderRight. In order to do that, we need to check, if the handle is in the upper box, then set a boolean variable on true for that, and we set it back to false, when we leave the box again.
public class ColliderLeft : MonoBehaviour
{
    public bool in_left_up = false;
    public bool in_left_down = false;
    [...]
    void OnTriggerEnter(Collider other)
    {
        if (other.CompareTag("cube_left_up"))
        {
            in_left_up = true;


        }
        else if (other.CompareTag("cube_left_down"))
        {

            in_left_down = true;
        }
    }
    void OnTriggerExit(Collider other)
    {
        if (other.CompareTag("cube_left_up"))
        {
            in_left_up = false;

        }
        else if (other.CompareTag("cube_left_down"))
        {
            in_left_down = false;
        }
    }
}
Note, that it is necessary for that to give a tag to each of the cubes. Furthermore you need to add to your left and RightHandAnchor a Rigidbody! Only in this case unity can detect the collision. Trust me, painful debugging time was needed for this insight.
As the variables like in_right_up are defined as public in the script, we can read them out in the main locomotion script. This can be done with the following call:
    in_down_left = collider_left.in_left_down;
    in_up_left = collider_left.in_left_up;
    in_down_right = collider_right.in_right_down;
    in_up_right = collider_right.in_right_up;
Now this is what we want, like that we get in each frame the information, whether our handle is in the upper or lower box.
The logical steps are to check, is the handle in the upper box. Does it move from there to the lower box, if so, trigger a push. I measure the time it takes, and the faster it is, the bigger the push is going to be.
    //check whether we are in the upper left box with the handle, measure the time
    if ((in_up_left) & (!in_down_left))
    {
        started_left = true;
        t1_left = Time.time;
    }
    //check whether we are in the lower box. Measure the time for the first appearence.
    if (((started_left) & (in_down_left)))
    {
        if (arrived_left == false)
        {
            t2_left = Time.time;
            arrived_left = true;
        }

    }
Of course, you need to add the same call for the right handle.
Now you should be able to move by going up and down with the controllers from the boxes. I experimented a little bit how to set the natural drag, to slow down again and the force from the push. It turned out, that for the plane a drag value of 0.4 seems quite fun.
When going downhill, I add a drag of -0.1, so that you accelerate when decending. But in order to get into the next corner, we need to brake down.
PrimaryIndexTrigger and add a large drag according to this value. Before the push, I add a condition of the form
private void FixedUpdate()
    {
        brake = OVRInput.Get(OVRInput.Axis1D.PrimaryIndexTrigger, rightController);
        [...]
        if (brake > 0.1f)
        {
            rbdy.drag = 2 * brake;
        }
    }
From now on, I played a bit and modified the application a bit more. I added for example 2 ski rigs to the hands.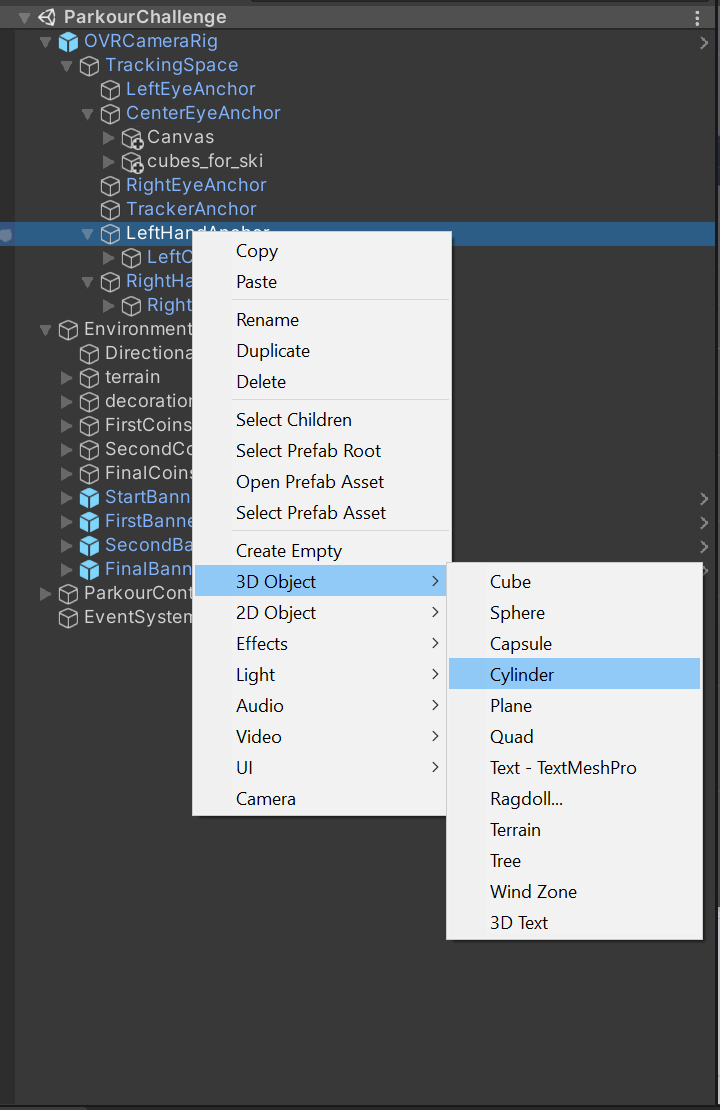
Then I played around until they have the right size.
Next, to create an even more authentic experience, I added a haptic feedback to the controllers, when performing the stroke. To trigger the haptic feedback, you can add in the script the line OVRInput.SetControllerVibration(1,1,leftController) this triggers the vibration of the controller. Oculus claims that you can also give a direct feedback for a predefined time, but this did not really work for me, therefore I measured the time of the push, if more then 0.1 seconds are elapsed, the vibration becomes disabled by OVRInput.SetControllerVibration(0,0,leftController). This can be performed by the following code
private void FixedUpdate()
    {
        [...]
        if (arrived_left)
        {
            collider_left.triggered_left = true;
            OVRInput.SetControllerVibration(1, 1, leftController);
            trigger_haptic_left = true;
            start_trigger_left = Time.time;
        }
        if (trigger_haptic_left)
        {
            //check whether we need to trigger the haptics
            if ((Time.time - start_trigger_left) > 0.1f)
            {
                OVRInput.SetControllerVibration(0, 0, leftController);
                trigger_haptic_left = false;
            }

        }
    }
(Simultaniously for the right one as well of course)
Furthermore the call of collider_left.triggered_left allows us to pass the information, that the stroke is performed to the script of the left and right anchor. As we already have a sound attached to the OVRCameraRig through the coins, we can add there the noise of hitting snow. I added an audio component to the Left and Right Anchor.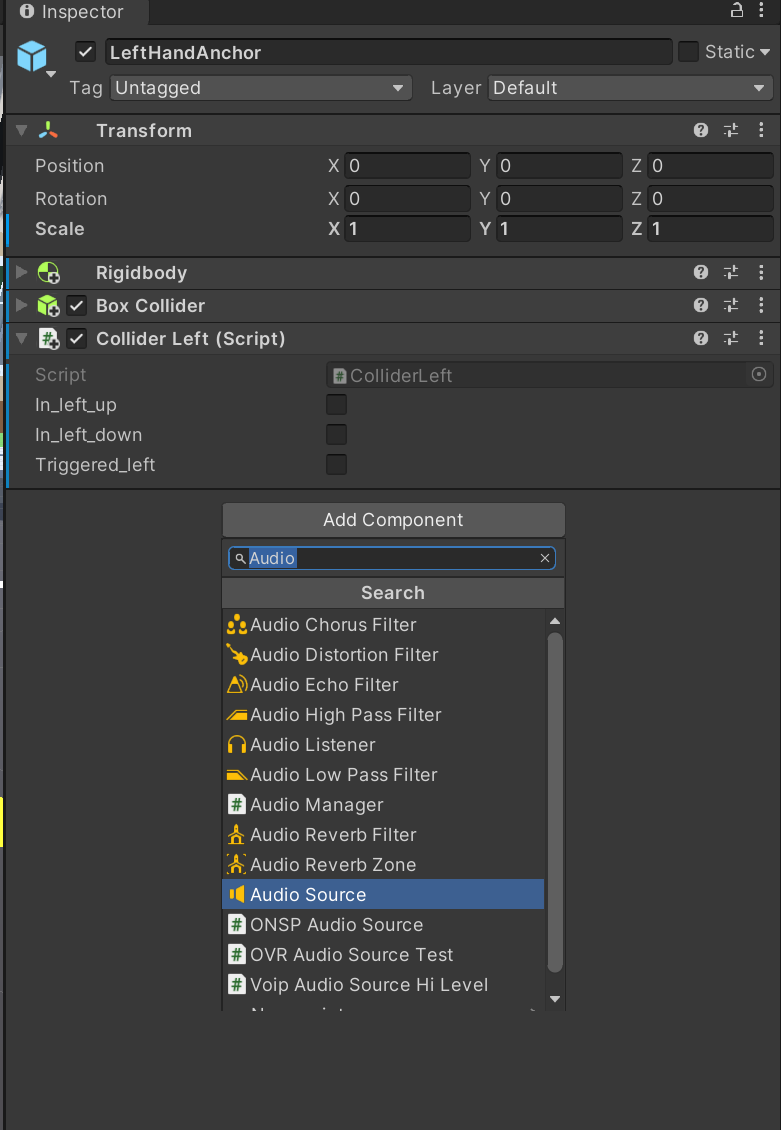


Then in the script of your controller, change the Update method as follows
void Update()
    {
        if (triggered_left)
        {
            triggered_left = false;
            this.GetComponent<AudioSource>().Play();
        }
    }
Then you should hear the sound, when performing the stroke.
During the implementation there was big problem, that only one eye was rendering. I have no idea what caused it, but as I wrote this article, I rebuild the application. Downgrading to Unity 2019.4.15f1 did the trick for me,
The files for this project can be found under this github link. There you will also find the .apk file, that you can install on the Oculus Quest via Sidequest. Furthermore a video how it looks to play the game from the inside and the outside can be found here.